

How To Create Poll Questions In Webex

Oct 25, 2021 | 358340 view(s) | 4740 people thought this was helpful
Start a poll in Webex Meetings
As a presenter, you can use a poll to create and share questionnaires. Polls can be useful for gathering feedback, taking votes, or testing knowledge.
Create a poll in Windows
| 1 | Select to add the Polling panel to your meeting. |
| 2 | On the Manage Panels page, select Polling from the Available panels and click Add. Then, click OK. 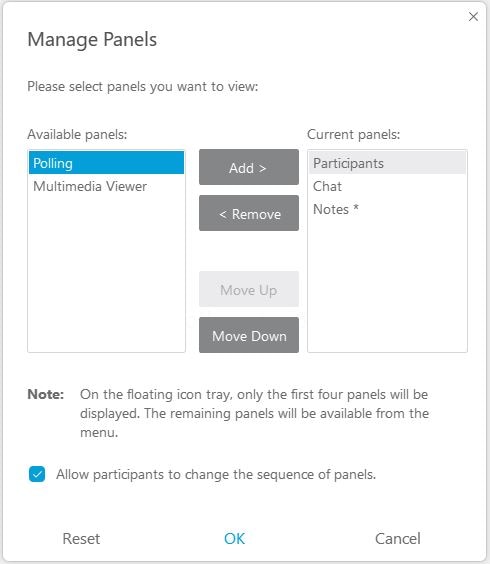 |
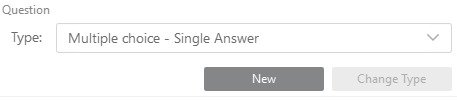
| 3 | Select the question type from the drop-down list in the Question section of the Polling panel.
|
| 4 | Click New to create a new question. |
| 5 | Type your question in the text box that appears and press Enter. In the text box that appears, type an answer to your question and press Enter. |
| 6 | (Optional) Repeat this process for as many questions and answers that you want to add. |
| 7 | Click Open Poll. |
Create a poll in Mac
| 1 | Select to add the Polling panel to your meeting. |
| 2 | On the Manage Panels page, select Polling and click Add. Then, click OK. |
| 3 | Go to the Polling panel for each question and answer that you want to create.
|
| 4 | Select the question type from the drop-down list in the Question section of the Polling panel for each question that you create.
|
| 5 | (Optional) Repeat this process for as many questions and answers that you want to add. |
| 6 | Click Open Poll. |

Take a poll quick reference tasks
| Task | Action |
|---|---|
| Open a poll questionnaire file to display the questionnaire on your Polling panel | Select or select the Open |
| Change the question type | Windows: Select the question that you want to change and then select the new question type from the drop-down list. Click Change Type to enact the change. Mac: Select Click here to change question type which is displayed under each question. |
| Edit a question or answer | Select the question or answer, click the Edit |
| Delete a question or answer | Select the question or answer, and then select the Delete |
| Rearrange questions or answers | Select the question or answer, and then select the Move Up |
| Delete an entire questionnaire | Select Clear All at the bottom of the Polling panel. |
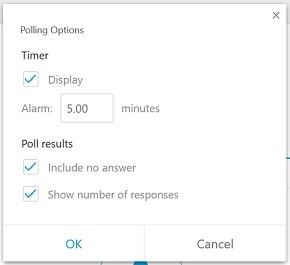
| Display a timer during polling |
|
| Save a poll questionnaire | Select or select the Save |
| Open a poll |
|
| Share poll results with participants | In the Share with attendees section, check the Poll results check box or the Individual results check box, and then click Apply. |
| Specify options for poll results |
|
| Save the results of a poll | Select or select the Save Poll results can either be saved as a group or as individual attendees. Saving as a group anonymizes responders while saving as individual attendees identifies responders by name. Both group and individual attendees results can be saved to either text, or .txt, or comma-separated values, or .csv, files. |
Was this article helpful?
How To Create Poll Questions In Webex
Source: https://help.webex.com/en-us/article/n0pdj9x/Start-a-poll-in-Webex-Meetings
Posted by: wardacte1943.blogspot.com
0 Response to "How To Create Poll Questions In Webex"
Post a Comment